In this post
Over the past year I have submitted several games to the App Store, and every time I saw the same thing: writing the game itself is the fastest part. With Claude Code, a working game is running on a phone within a few days. What really takes effort comes afterwards: store screenshots, privacy texts, the age rating, review notes and the first rejection message.
In this post I walk through that process from start to finish, from the technical setup to the moment you face the review team. The goal is simple: give yourself the best possible chance of approval on the first submission.
Before you start
What you need is a short list:
- A Mac and a current Xcode. Since April 28, 2026, apps uploaded to App Store Connect must be built with Xcode 26 or later using the iOS 26 SDK. Start with an older Xcode and you will hit a wall at upload time.
- An Apple Developer Program membership. It is a yearly paid membership, as an individual or a company. With a company account the store shows your company name, so decide this up front.
- Claude Code. It runs in the terminal and sees every file in the project. It can build the Xcode project from the terminal, run it in the simulator and read the error output itself.
Choosing the technology
For small and mid-sized games I prefer Apple's own frameworks: SwiftUI for the interface, SpriteKit for 2D, SceneKit or RealityKit for 3D. You can of course use a third-party engine, but native has two big advantages. First, the app stays small. Second, there are fewer surprises in review; with an app built on Apple's own tools, permissions, privacy and performance are more predictable.
Setting up the project
The first job is to write the rules down for Claude Code. I put a CLAUDE.md file at the root of the project:
# CLAUDE.md
App: Sample Game
Bundle ID: com.mycompany.samplegame
Target: iOS 17 and later, iPhone and iPad
Stack: SwiftUI + SpriteKit, no external dependencies
Languages: Turkish and English, all strings in a String Catalog
Rules:
- No placeholder text, empty screens or "coming soon" buttons
- Build and run in the simulator after every change
- No account creation; progress lives on device and in iCloud
- If there are ads: ask for permission first, then show ads
This file settles, from day one, the answers to many questions the review team will ask later. The "no placeholders" rule alone prevents one of the most common rejection reasons.
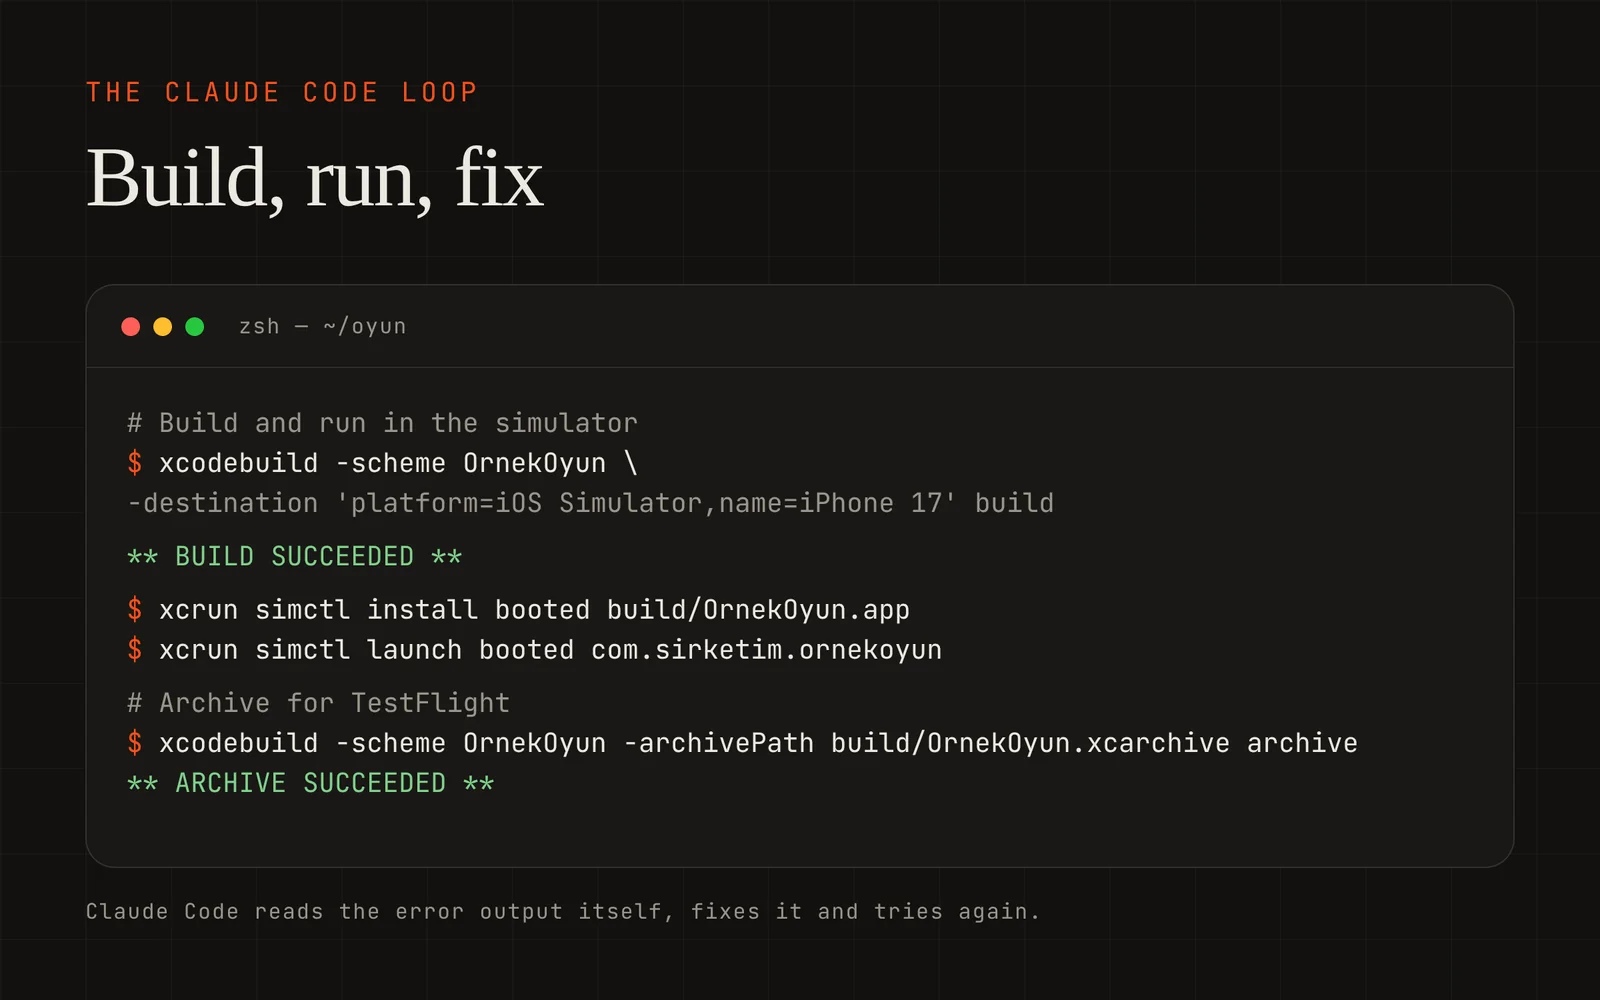
Then I ask Claude Code to build the project from the terminal and run it in the simulator. It builds with xcodebuild, reads the output when something fails, fixes it and tries again. I watch the simulator at every step. The loop is so fast that the core mechanic is usually playable on the first day.
While building the game
A few habits make the work much easier:
- Core loop first. If the five-second heart of the game isn't fun, effects won't save it. My first target is always a playable, plain version.
- Add localisation from the start. Adding Turkish and English later means hunting down every string. Starting with a String Catalog saves time for you and for Claude.
- Save progress. Players should pick up where they left off when they reopen the app. Reviewers notice this too.
- Test on a real device. A scene that runs smoothly in the simulator can stutter on an older iPhone. Always try a real device before TestFlight.
- Don't forget the feel. Haptics, sound, small animations. They change the perceived quality a lot, and they are easy to describe to Claude.
Getting ready for the store
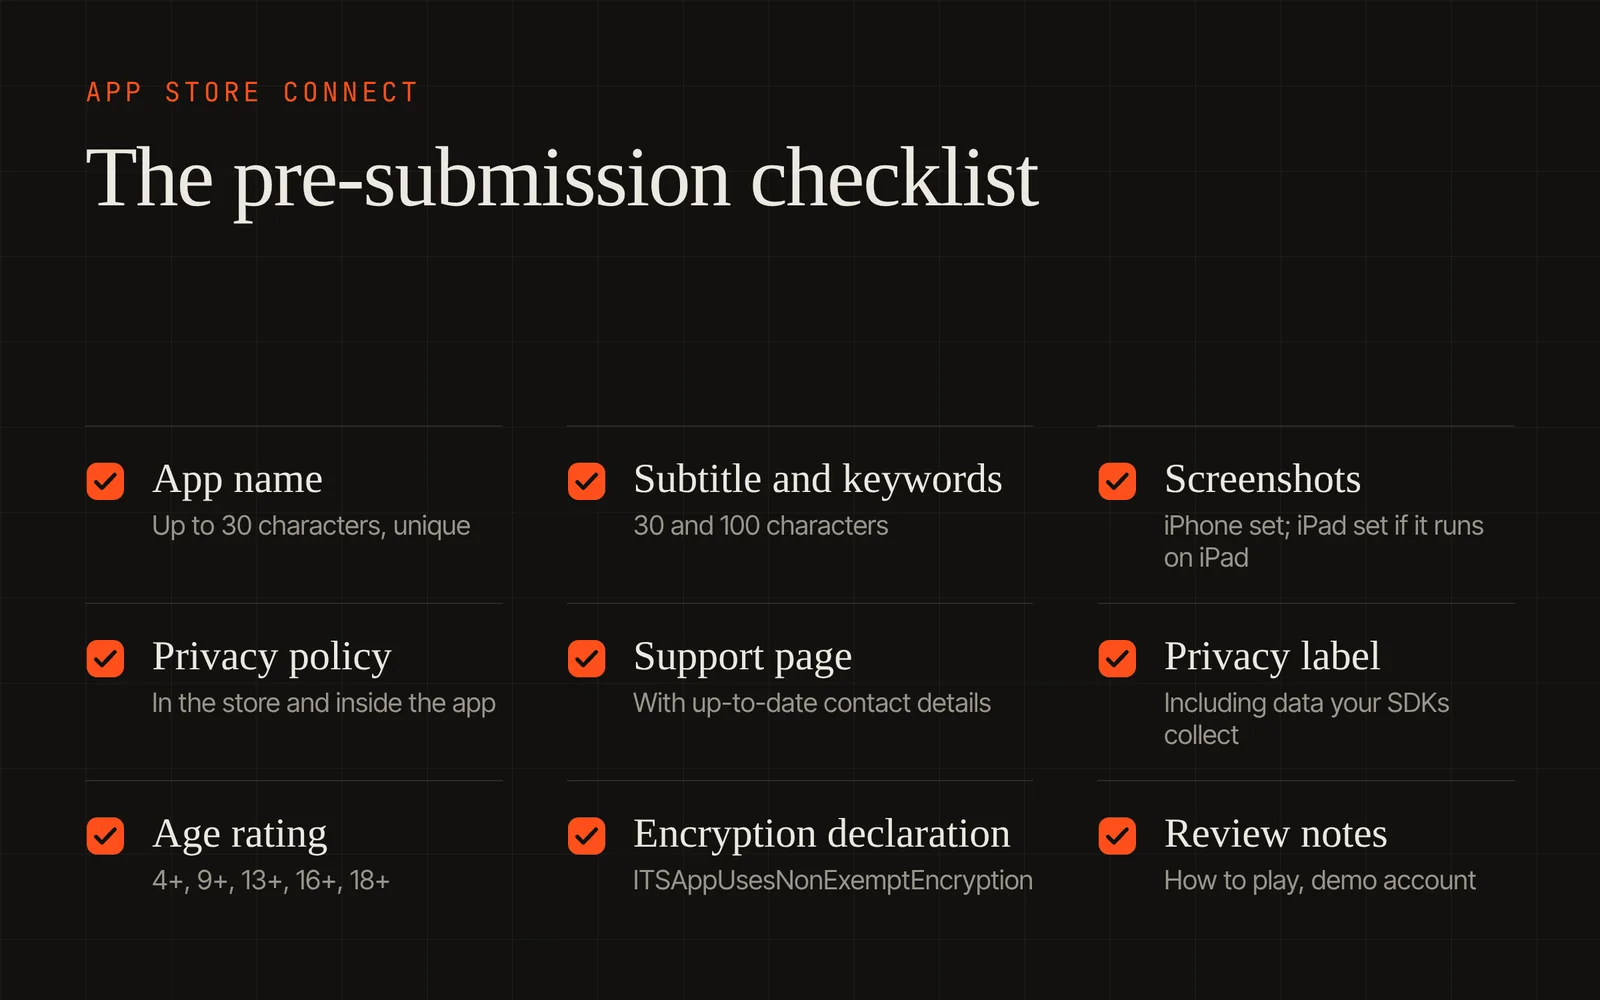
The work isn't over when the code is done. There is a set of things to prepare in App Store Connect, and I have turned them into a checklist.
Name and identity
The app name can be at most 30 characters and has to be unique. If the name you want is taken, adding a short descriptor next to it works. The name on the home screen can stay different. The icon is 1024×1024, without transparency.
Store copy
The store page is the game's shop window. Knowing the limits of a few fields makes the job easier:
- Subtitle: up to 30 characters. Say what the game is in one line, such as "A word and card puzzle".
- Keywords: up to 100 characters, separated by commas. Don't repeat words that are already in the app name or subtitle; the field already covers them.
- Promotional text: up to 170 characters. It can be updated without a review, which makes it ideal for announcing a new level, an event or an update.
- Description: the first three lines matter most, because most people never tap "more". Say in the first sentence why the game is fun.
I prepare these texts separately for each language and have Claude write them. My rule: localise, don't translate. The Turkish page should use the words Turkish players search for, and the English page the words English-speaking players search for. Translating the same text and leaving it there means missing real opportunities in store search.
Screenshots
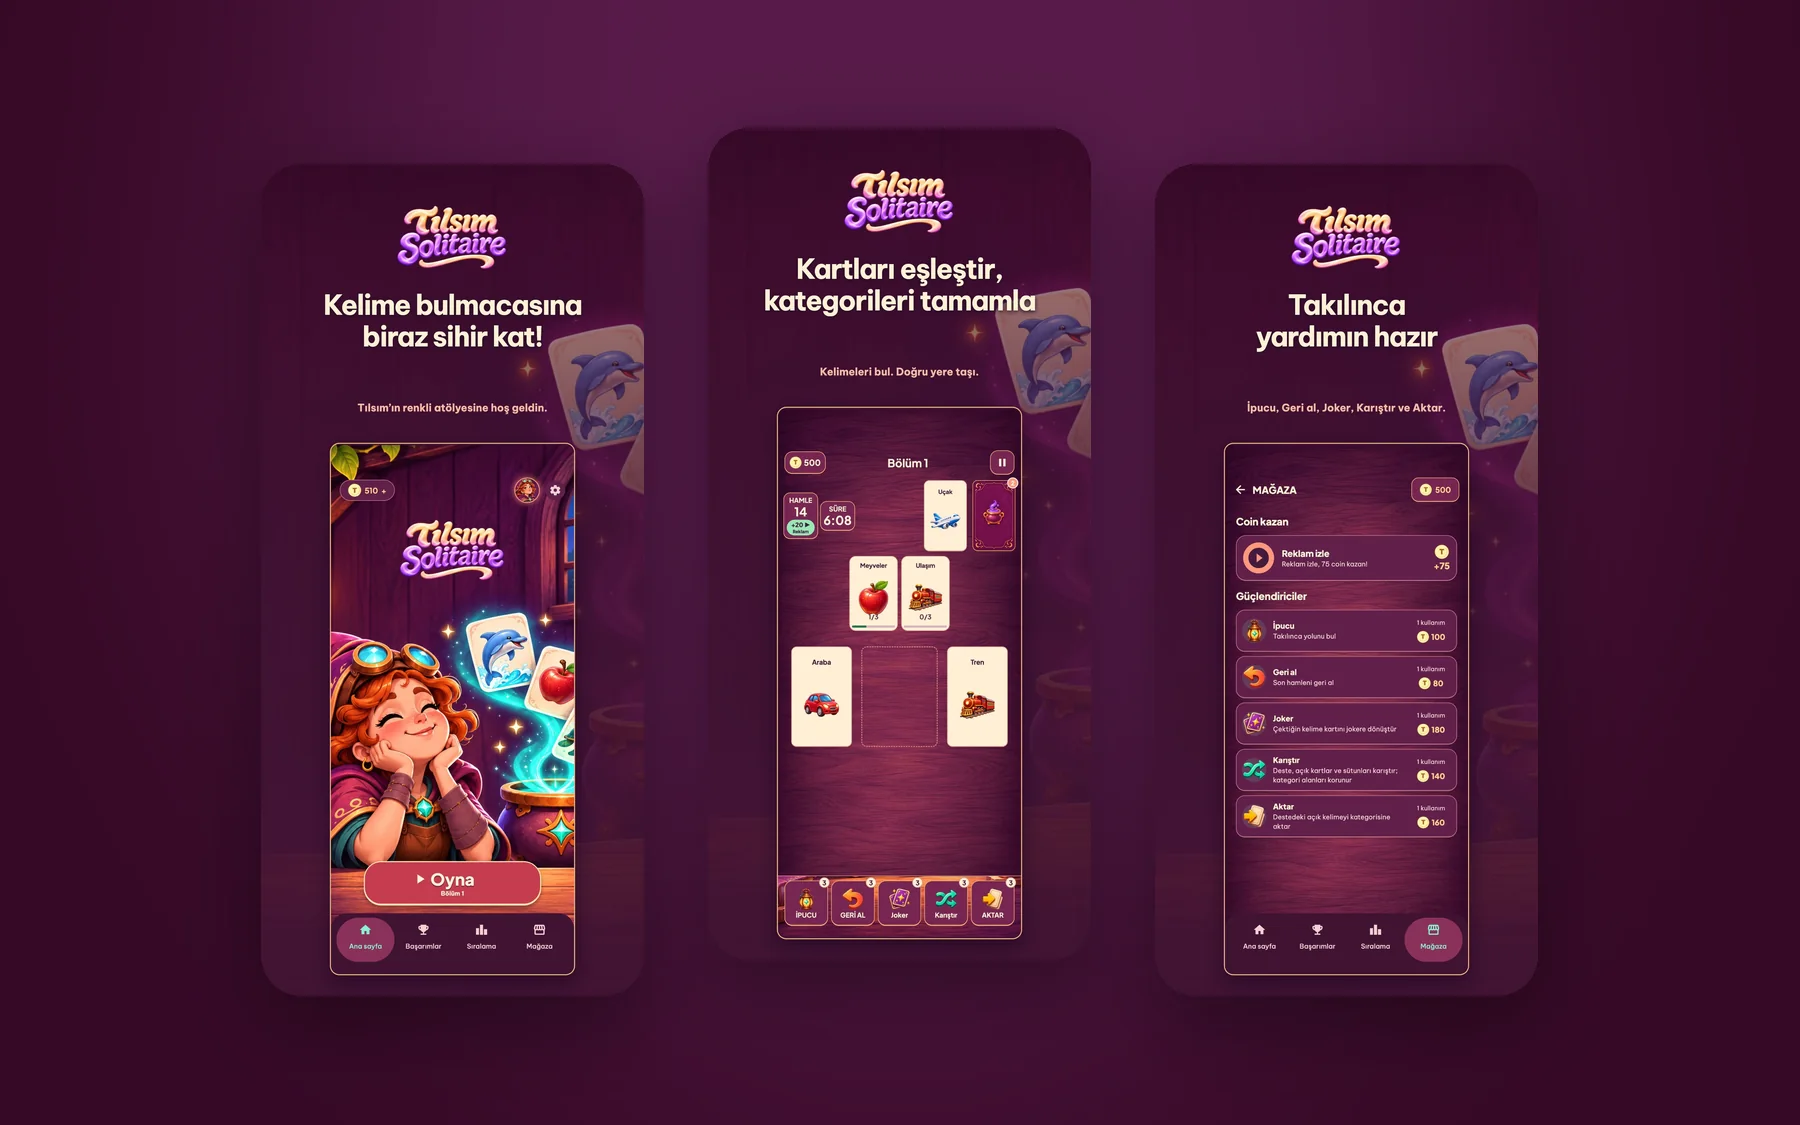
Apple allows up to 10 screenshots per device size, and the files must not contain transparency. You need at least one set for iPhone. If the game also runs on iPad, you need a separate set for iPad. Screenshots should show the app in use; title art, a splash screen or a login page alone isn't enough. That rule is written plainly in the review guidelines.
I have Claude prepare the screenshots as well. It captures the best moments of the game from the simulator, adds short headlines and produces a separate set for each language. Separate visuals for the Turkish and English store pages make a noticeable difference to conversion.
Privacy policy and support page
This is the step people skip most often. Apple requires every app to link to a privacy policy both in its store metadata and inside the app, and to provide a support page with up-to-date contact information.
You don't need a big website for this. For each game I have a simple two-page site made: privacy and support. I put it on a free hosting service and add the links both to App Store Connect and to the game's settings screen.
App privacy details
App Store Connect has a section where you declare what data the app collects and how it is used. It appears on the store page as the "privacy label". Being honest and complete here is essential. If you use an ads or analytics library, the data those libraries collect is part of your declaration too.
If you use ads there is one more thing: if your ad setup tracks users across apps, you need to ask for App Tracking Transparency permission first. Apps that track without asking are rejected.
Age rating
Apple has overhauled its age rating system. There are now 4+, 9+, 13+, 16+ and 18+ ratings, and the new questions have to be answered. If your game has violence, gambling-like mechanics, chat between users or user-generated content, answer carefully. A wrong declaration can cause trouble even after approval.
Encryption declaration
Every upload asks whether the app uses encryption. If your game only uses standard HTTPS and doesn't implement its own encryption, adding the ITSAppUsesNonExemptEncryption key to Info.plist with the value NO saves you from answering the question every time. If you're not sure, read Apple's export compliance page.
If there are accounts
If your game lets people create an account, you also have to let them delete it from within the app. If you use a third-party login, pay attention to Apple's rule about offering an equivalent login option that limits data collection to name and email. My advice: unless you really need it, don't require an account. Keeping progress on the device and in iCloud is easier for players and for review.
Business model
Pick the business model up front too, because it directly affects review. A paid game keeps things relatively simple. A free, ad-supported game brings in the privacy declaration and the tracking permission. If you have in-app purchases, every product has to be set up in App Store Connect, ready for review, and the game needs a restore purchases button. My preference is to start simple in the first version: rewarded ads or no ads at all. If the game takes off, I add purchases in a later update. That makes the first review easier and stops you from designing products before you've seen what players actually want to pay for.
TestFlight
Before submitting, I distribute the game through TestFlight. Claude Code can create and upload the archive from the terminal; I usually do the first upload from Xcode's Organizer window and the following ones from the terminal.
I add myself and a few friends to an internal test group and pass their feedback to Claude exactly as it arrives: "the screen freezes when I tap the shop button", "some labels stay in English after switching to Turkish". Every piece of feedback means a fix, a new build and a new TestFlight version. After two or three rounds the game is ready for the store.
Submitting for review
Don't leave "Notes for Review" empty. Explain in two or three sentences how the game is played. If an account is needed, provide a demo account. If you request a special permission, explain why. If there are ads, say where they appear. Making the reviewer's job easier raises your chances of approval.
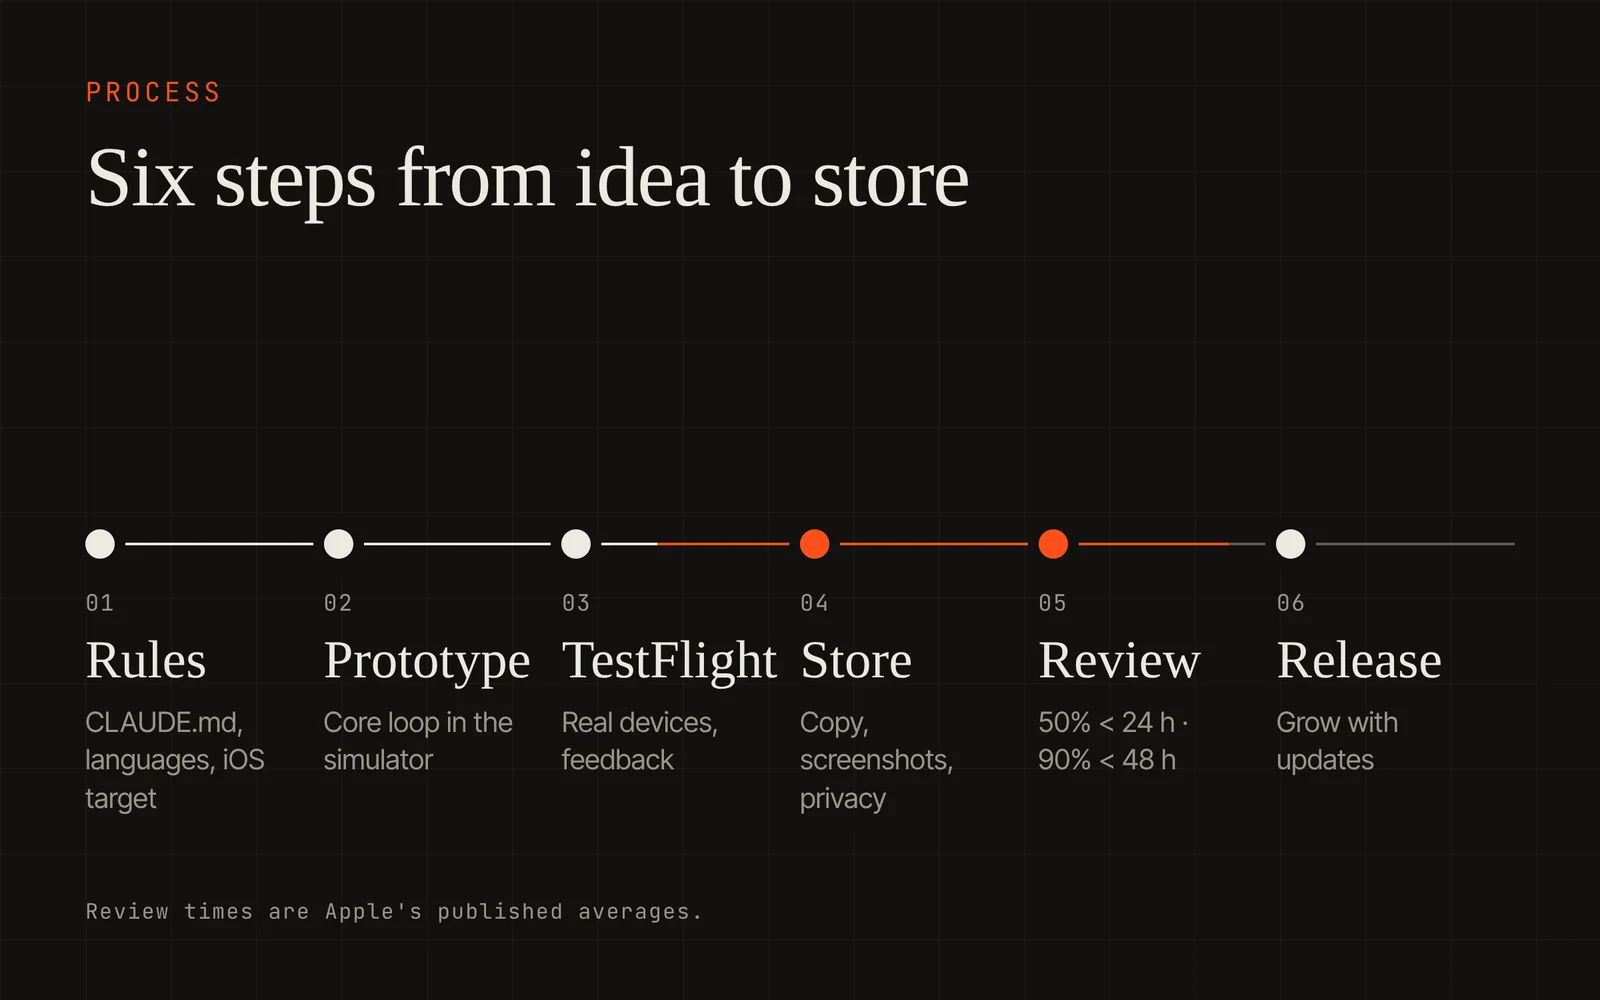
On timing, Apple says it typically reviews at least 50% of submissions in less than 24 hours and 90% in less than 48 hours.
If you get rejected
Don't panic. The message tells you which guideline you ran into. The most common reasons I see:
- 2.1 App Completeness. A crashing screen, a dead button, an empty page or placeholder text. The fix: walk through every screen in TestFlight.
- 2.3 Accurate Metadata. Screenshots that don't reflect the app, or a description that mentions a feature that isn't there.
- 4.2 Minimum Functionality. Apps that are too shallow or little more than a repackaged website.
- 4.3 Spam. Apps that add nothing original to a category already full of similar ones. That is why a one-to-one copy of a popular game gets rejected. Add your own twist.
- 5.1.1 Privacy. A missing or broken privacy policy link, or no account deletion.
You can reply to the rejection from inside App Store Connect. Write briefly and clearly what you fixed, and add a screenshot if it helps. If there has been a misunderstanding, explain it politely. A clear, respectful reply resolves most cases.
Final word
Claude Code changed the speed of game development. But the store process still demands the same attention. The difference is that you're no longer alone there either. You can prepare the privacy page, the screenshots, the store copy, the review notes and the replies to rejections with the same assistant.
The biggest lesson for me: don't leave the store for last. When privacy, localisation, saved progress and the no-placeholder rule are part of the project from day one, approval comes much more easily. If you'd like to see my latest game, Tılsım Solitaire is worth a look, and you can always write to me with questions.