In this post
Over the past year I have shipped several mobile games, and every one of them taught me the same lesson: getting the code written is now the easiest part of the job. The game loop, menus, scoring, online rooms... all of it stands up in a few days. What slowed me down was the art. In 2D you can get by with ready-made asset packs. Move to 3D and everything changes. If the cars in a racing game look like toys, nobody plays a second lap.
This post is about how I removed that bottleneck. I connect three tools into one line: Claude Code, Blender MCP and Tripo 3D. The result: the same assistant that writes the game's code can also work inside Blender, generate a model, clean it up and get it ready for the engine. I sit in the director's chair.
The bottleneck is no longer code
For an indie developer or a small team, the cost of a 3D game usually sits in asset production, not in code. Modelling a character, fixing its topology, unwrapping UVs, painting textures, rigging, exporting at the right scale... each one is its own craft. Asset stores help up to a point, but the moment you want something specific to your game you are back at square one.
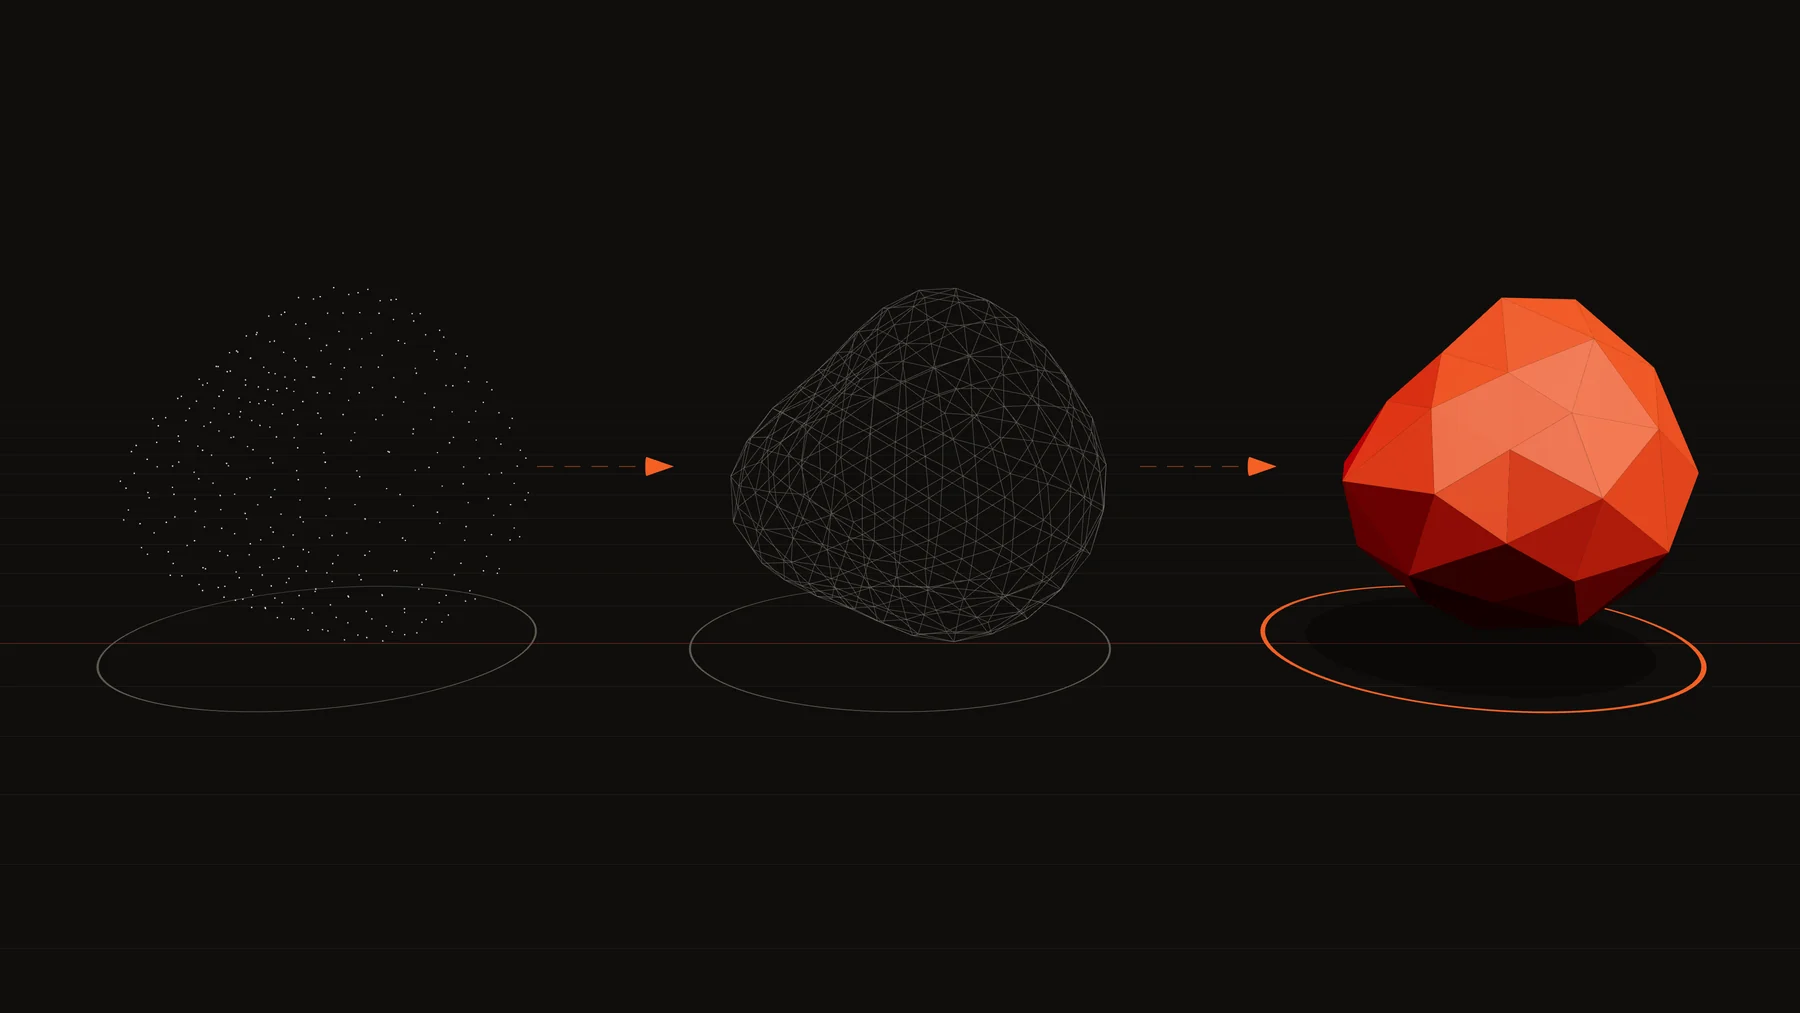
Generative 3D models changed that equation. Today a single image or a single sentence becomes a textured model with PBR materials in a few minutes. But the raw output doesn't go straight into a game. The scale is wrong, the pivot floats in the air, the polygon count is too high for mobile and the names mean nothing. That is exactly the gap Blender MCP fills.
Three pieces, one team
Each tool has a clear role:
- Claude Code is the conductor. It runs in the terminal, sees every file in the project and writes the game's code. Through MCP servers it can also drive other applications.
- Blender MCP is Claude's pair of hands inside Blender. It installs an add-on that opens a small socket server inside Blender, and the MCP server bridges Claude and Blender. Claude can read the scene, move objects, assign materials, take a screenshot of the viewport to check its own work and, when needed, run Python directly in Blender.
- Tripo 3D is the model factory. It turns text, a single image or several views of an object into a 3D model, and its API also offers texturing, retopology, auto-rigging and animation. There is also a model series that outputs quad topology for games, which makes a real difference once you need to rig and animate.
Put the three together and the flow looks like this: I describe what I want, Claude Code asks Tripo for the model, brings it into Blender, cleans it up, exports it and wires it into the game's code. At every step I look at the screen and approve or correct.
Setup: ready in half an hour
Blender and uv
Blender 3.0 or newer is enough; I use the current release. Blender MCP relies on the uv package manager to run its Python packages. Install uv with its official installer rather than with pip.
Blender MCP
The project was recently renamed: the old name is blender-mcp, the new one is mcp-for-blender. The old command still works, but use the new name for fresh installs. The shortest path is the automatic setup:
uvx mcp-for-blender setupThis installs the add-on into Blender, finds the MCP clients on your machine and adds a blender entry to their settings. If you prefer to do it by hand, install the add-on first and then register the server with Claude Code:
uvx mcp-for-blender install-addon
claude mcp add blender -- uvx mcp-for-blender
Then enable the add-on in Blender under Edit → Preferences → Add-ons. Press N in the 3D viewport, open the MCP for Blender tab in the sidebar and click Start MCP Server. Type /mcp in Claude Code and you should see the blender server connected.
Tripo
There are two ways to bring Tripo in. The first is Tripo's official MCP server. It works with Tripo's Blender add-on, generates the model you describe in plain language and imports it straight into Blender. It is still in alpha, but worth a try:
claude mcp add tripo -- uvx tripo-mcpThe second is the one I prefer: let Claude Code use the Tripo API directly. Create an API key in Tripo's developer console and put it in an environment variable:
export TRIPO_API_KEY="your-key-here"Then ask Claude Code to write a small script: create the task, poll until it finishes and download the GLB into the project's assets/raw folder. The advantage is control. You choose the model, the face limit, quad topology, texture quality and retopology as parameters. Everything is also on record, so you can regenerate the same model tomorrow with the same settings.
One note: never commit the API key. Keep it in a .env file and add that file to .gitignore.
The flow: from idea to in-game
1. Rules first: the style card
The biggest mistake is asking for every model separately. You end up with assets that look like they came from different games. I start with a style card: a file called ART.md at the root of the project. It holds the visual language (low-poly, stylised or realistic), the colour palette, scale rules (character height, door height), the polygon budget, texture resolution and the naming rules for files and objects. Claude Code reads it at every step. That is the whole secret of consistency.
My template looks roughly like this:
# ART.md
Style: stylised low-poly, soft shading, exaggerated proportions
Palette: #1F2A44, #F2C14E, #E4572E, #76B041, #F5F1E8
Scale: 1 unit = 1 metre, character height 1.8, kart length 2.2
Budget: hero 12,000 tris, vehicle 8,000, prop 1,500
Textures: hero 2048, vehicle 1024, prop 512, PBR
Pivot: bottom centre, forward axis -Y
Names: type_name_variant (kart_racer_red, prop_barrel_01)
That's it. Short, measurable rules that leave no room for debate. When something comes out wrong, I only need to say "this doesn't follow ART.md" and Claude works out what is off.
2. Generate the model
Text-to-3D is fast but gives you little control. Image-to-3D is far more consistent. I prepare a reference image first: the object on its own, on a plain background, ideally from the front and slightly above. For characters, arms slightly away from the body in a symmetrical pose. If you have several angles, multi-view generation is even better.
For mobile games I always use two settings: the low-poly option and a face limit. If the model will be animated, I pick the quad-topology series; those models are much easier to rig and deform.
The cost is reasonable. Tripo works on credits, and one credit is one cent. A textured model from text is around 20 credits, and from an image around 30. So the first version of a model costs roughly 20 to 30 cents. Retopology and auto-rigging are charged separately.
3. Clean it up with Blender MCP
This is where the magic happens. Once the raw model is in Blender, I have Claude:
- Set the scale according to
ART.mdand apply the transforms. - Move the pivot to the bottom centre of the object.
- Check the polygon count; if it is over budget, decimate, then take a viewport screenshot to make sure the shape survived.
- Simplify materials, drop unused texture channels and resize textures to the agreed resolution.
- Generate a simple collision body (a box or a convex hull) and name it by the rules.
- Rename the object and its materials to the naming standard.
Claude does this through Blender's Python API and checks the result itself by taking a screenshot of the viewport. I watch the screen at the same time. If I don't like something, I just say it: "the wheels are too thin, make them twenty percent thicker" or "there's a hole at the back, close it".
4. Export to the engine
The last step is export. The right format depends on your engine:
- Godot and the web (three.js): glTF/GLB. Blender's glTF exporter handles the axis conversion for you.
- Unity: FBX or GLB. Watch the scale: one unit in Blender is one metre, and the same in Unity. Never leave unapplied transforms.
- iOS: USDZ if you use RealityKit or SceneKit.
After export, Claude Code switches to the game side: it writes the code that loads the model, wires up the collision body and, if needed, adds a lower-detail LOD for distance. Because the same assistant works in both the scene and the code, names and scales never drift apart. For me, that is the biggest win.
Prompts that work
A few examples. Short, rule-based prompts always beat long, decorated ones.
Read ART.md. Use Tripo to generate a low-poly, textured racing kart
from assets/refs/kart-01.png. Face limit 8000.
Save the GLB as assets/raw/kart-01.glb.Open kart-01 in Blender. Bring it to the ART.md scale, apply transforms
and move the pivot to the bottom. Split the wheels into separate objects
named wheel_FL, wheel_FR, wheel_RL, wheel_RR. After each step take a
viewport screenshot and show me.Export the scene as assets/game/kart-01.glb. Then replace the player's
kart in the game with this model, add code that spins the wheel objects
with speed and update the collision box to fit the model.Notice that none of them mention Blender's menus. I say what I want; Claude figures out how.
Which games is this good for?
This pipeline shines in games that need many similar but distinct objects. Twelve karts in a racing game, hundreds of buildings and props in a city builder, weapons, crates, rocks and trees in a survival game. Modelling each by hand takes weeks. As long as the style card stays fixed, this line turns out dozens of them in the same visual language within a few days.
It is just as valuable at the prototype stage. Instead of testing an idea with grey boxes, you can test it with recognisable models from day one. That makes decisions easier for you and makes the idea easier to grasp for the people you show it to. Showing an investor or a publisher grey boxes and saying "imagine it" is a very different conversation from showing a playable, coherent scene.
There are places where it struggles too: story characters whose facial expressions matter, very fine mechanical parts and objects tied to a brand identity. There, the generated model is a starting point, not the destination.
What to watch out for
The pipeline is powerful, but it is not a magic wand. Lessons from the field:
- Save first. Blender MCP lets Claude run Python inside Blender. That is powerful and risky. Save your file before every big operation. For a more controlled setup, turn on the add-on's safe mode with
BLENDER_MCP_SAFE_MODE=1. - Keep the server local. The add-on's socket server has no authentication. By default it runs on
localhost; keep it there. - Use one client. Don't run the Blender server from Claude Desktop and Claude Code at the same time. They clash.
- Break the work down. One giant request like "build the whole city" can time out. Go step by step and take a screenshot after each one.
- Animated characters are a different world. Generative models are excellent for static objects. For characters, topology and rig quality are critical. Either use the quad-topology model with auto-rigging, or work with a 3D artist on the main characters. My advice: generate background characters and props, and have an artist finish the hero.
- Check the licence. Read the commercial terms of the service you use, especially on free plans.
- Measure on the device. A scene that runs smoothly in the editor can stutter on an older phone. Validate your polygon and texture budget on real hardware.
A change of role
The real feeling this work leaves me with is that my role has changed. When a 3D game idea used to come to mind, my first question was "who is going to model this?" Now my first question is "what should this game look like?" The technical steps are still there, but I no longer do each of them by hand. I set the direction, write the rules and judge the result.
Over more than twenty years in media and sales I have learned one thing: good work starts with a good brief. It is the same with these tools. When your style card is clear, your references are clean and your requests follow rules, the output surprises you. When you are vague, no tool, however powerful, saves the result from being a mess.
If you try this yourself, write to me. I'd like to know where you got stuck and which prompts worked for you.